FAMILY PHOTOSHOOT PREP GUIDE
Thank you for booking a session with JW Brown Photography! I can't wait to capture your family, just as you are right now.
This guide covers everything you need to know to feel prepared and relaxed on the day of your session. Read through it when you have a few minutes, and if anything comes up that I haven't covered, just reach out at jessica@jwbrownphotography.com; I'm always happy to help.
WHAT TO WEAR
Let's be honest, figuring out what to wear is the part families dread most about getting photos taken! What if the colors clash? What if someone looks washed out? What if you spend an hour coordinating outfits and they still don't look right together?
I hear this all the time, and I'm here to make it easier. Here are three resources to take the guesswork out:
1) JWB STYLE GUIDE
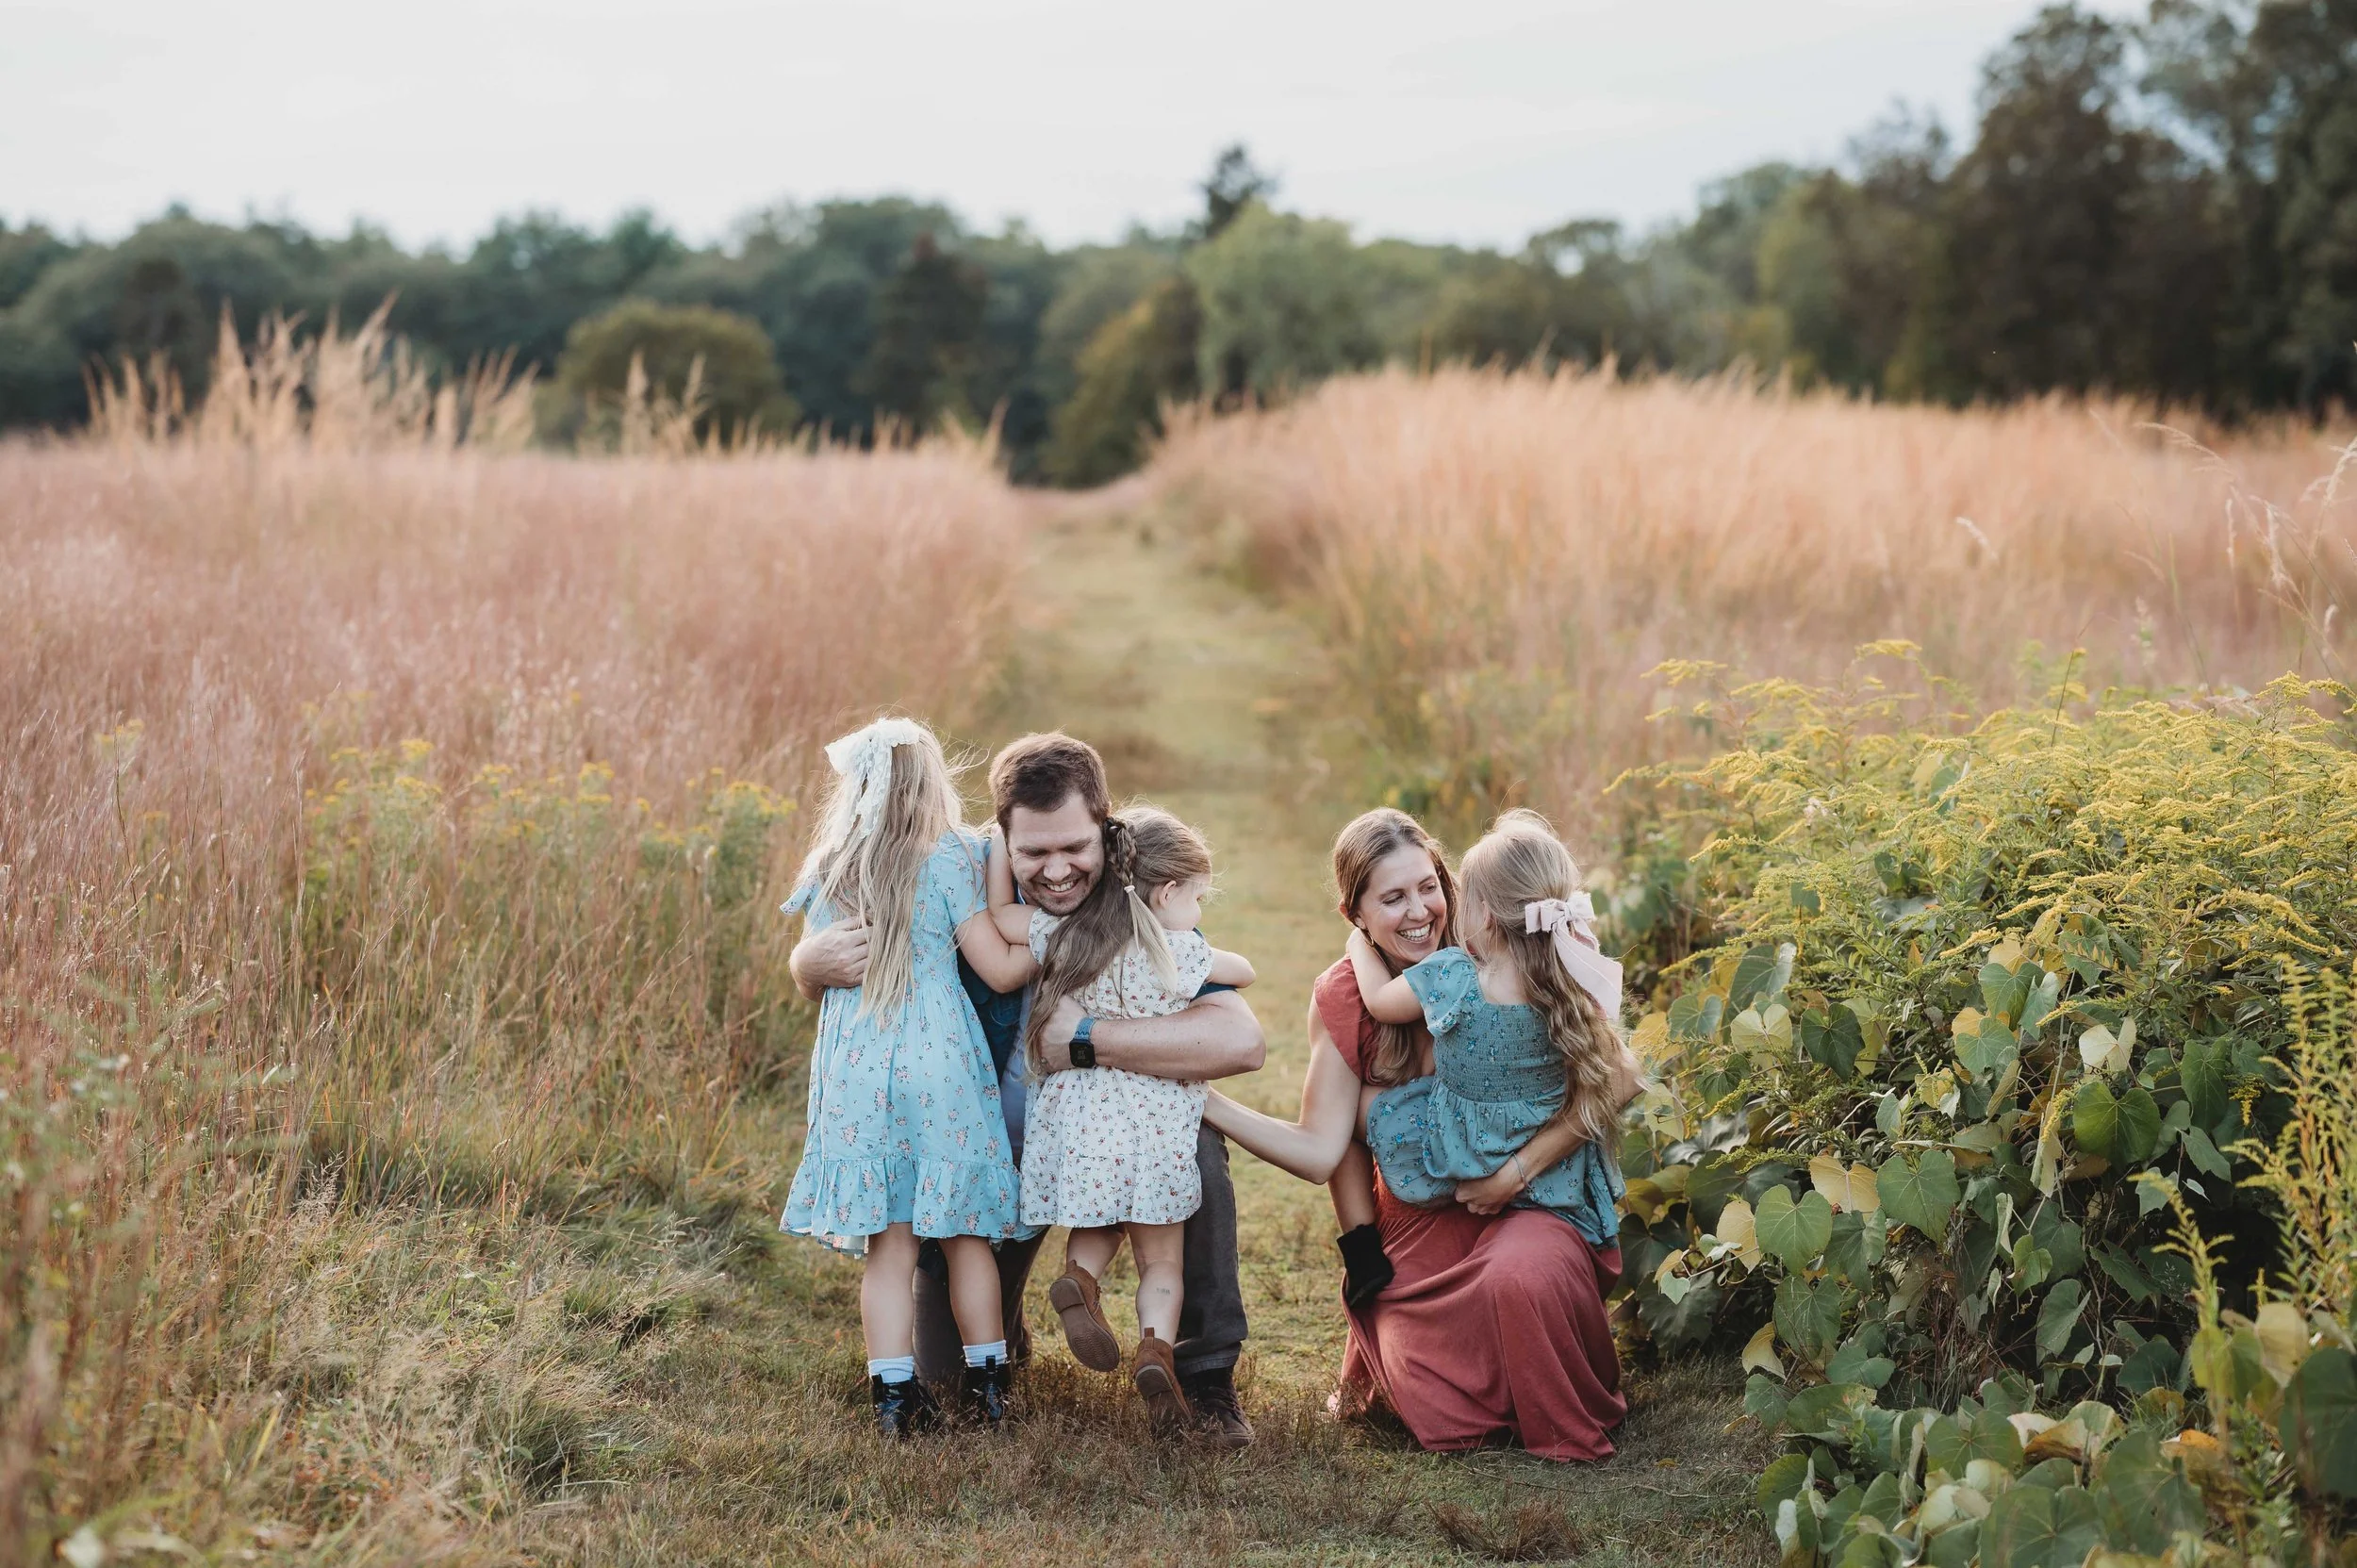
The JWB Style Guide is a good place to start. It's a PDF broken down by season with real examples from JWB sessions, so you can see exactly what works, in real families, in real light, at real times of year. Flip through the season that matches your session date and let it inspire you.
2) ON THE BLOG
From there, my blog post on what to wear for your family session walks you through the how -- how to coordinate patterns, how to build a color story, and how to avoid the most common styling mistakes families make.
3) EXCLUSIVE ONLINE STYLING SERVICE (FREE FOR ALL JWB CLIENTS)
This one is special. Style and Select is a premium styling service that I provide to every JWB client at no cost to you. It's my way of making sure you walk into your session feeling confident and put-together.
Here's how it works: use code JWBSTYLE to create your profile, answer a few quick questions about your colors, style, and family members, and Style and Select builds you a curated collection of coordinating outfits across a range of price points. We're talking real, shoppable looks pulled together specifically for your family, not generic mood board inspiration. Heart your favorites and you'll get direct links to purchase, or use the looks to search your own closets for something similar.
It takes about ten minutes and it takes the guesswork out entirely.
Head to Style and Select and use code JWBSTYLE.
Answer a few quick questions about your preferred colors, style, and family members.
Browse a curated collection of coordinating outfits across a variety of price points.
“Heart” your favorites from each list.
Get an email links to purchase (or “shop” your own closet for something similar!)
Still not sure? Send me a photo of your outfits before your session and I'll give you an honest opinion. Getting this right makes a real difference in how your images look and feel, and I'd much rather sort it out beforehand than have you second-guessing yourself on the day.
Tips for dressing KIDS
The Dos
Make sure the clothes fit. Clothes that are too big look sloppy in photos and tend to shift around throughout the session. When in doubt, go slightly on the smaller side.
If your daughter is wearing a dress with strappy or thin straps, or your son is wearing overalls, do a try-on at home before you decide on the outfit. Have your child sit down, stand up, and move around. Straps that look great standing can gape or fall the moment they sit. A neckline that stays put on the hanger might have other ideas once your child is actually wearing it.
Shoes are often an afterthought, but they matter. My sessions involve a lot of movement, running, spinning, and playing, so your child needs to be able to move freely without concern that their shoes will fall off or be uncomfortable. Test their shoes at home by having them run around. If they can't run comfortably, it's not the right shoe for the session.
If your (young) daughter is wearing a dress, put a pair of neutral-toned biker shorts underneath. It keeps undies and diapers covered no matter how much she twirls, runs, or climbs.
The Don'ts
Do your best to avoid anything your child finds itchy or uncomfortable. There is a balance, and not every kid will love what you put them in, but the more comfortable they feel, the better the session goes.
Skip the Crocs and brightly colored sneakers. They pull the eye away from your child's face and can clash with the overall look of the gallery. Neutral white or brown shoes tend to work best. Target is often a great option for this! And on that note, do not put your child in shoes they have never worn before. New shoes + an unfamiliar environment is a recipe for a rough start. Wear them around the house at least once before the session.
Don’t let teenaged girls wear ultra-short dresses and skirts (as much as they might beg!) It’s very hard to pose them naturally, not to mention modestly, when they’re in such restrictive clothes.
FOR FAMILIES WITH KIDS
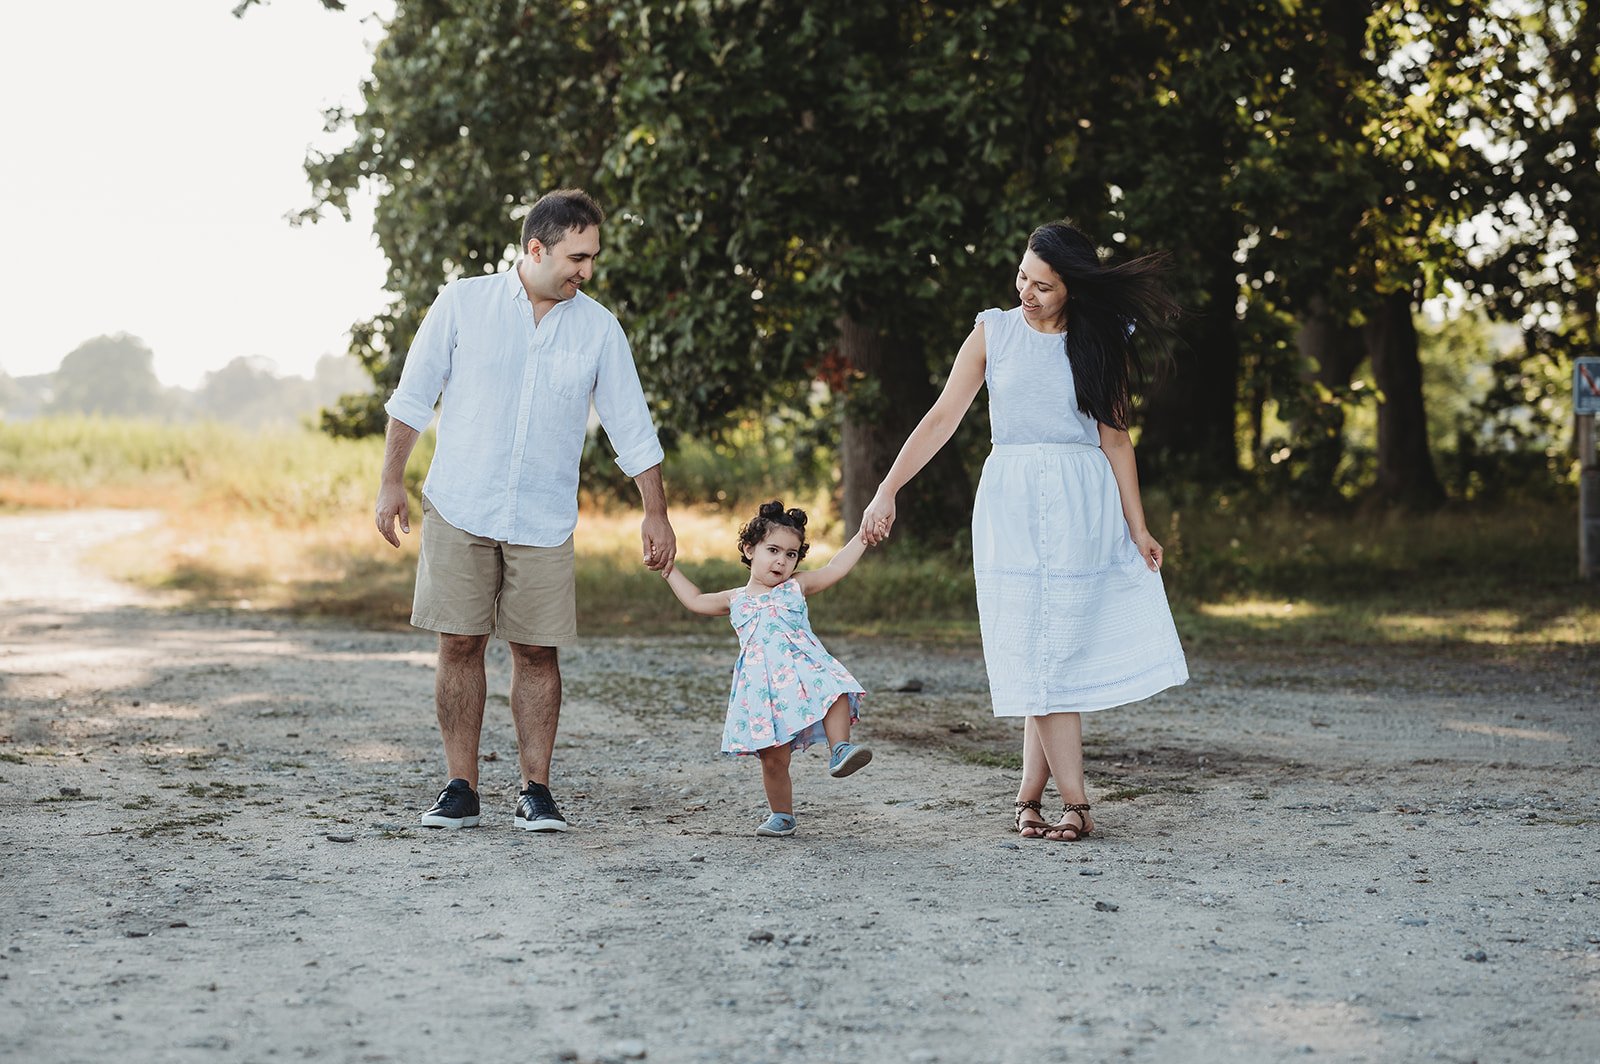
Relax and have fun! Parents set the tone for the photoshoot, so the more relaxed you are, the more fun the kids will have, and the better your pictures will turn out. I will prompt and pose you sometimes, and in other moments will stand back to capture the natural connection you share with the ones you love.
You don't have to look at the camera. Focus on your family instead. Laugh and chat and hug and tickle, and I'll let you know if I want you to look my way from time to time.
Don't tell your kids to "say cheese." I much prefer to play silly games with them to elicit natural smiles and laughs. Remember, too: A child's grouchy, silly, thoughtful, or pouty moment is often just as gorgeous and memorable as a "perfect smile."
Avoid “hangry” children. Make sure kids have had a good meal prior to their session, and also pack a few non-messy snacks just in case.
Incentives work. Call it bribery if you must, but a promise of ice cream/family movie night/extra screen time/fruit snacks can go a long way! Just don’t threaten them during the session. Nothing kills a mood for a kid like saying, “well, no candy for you then” to them in the middle of the session.
LOCATION, MEETING UP, AND LAST MINUTE TEXTS
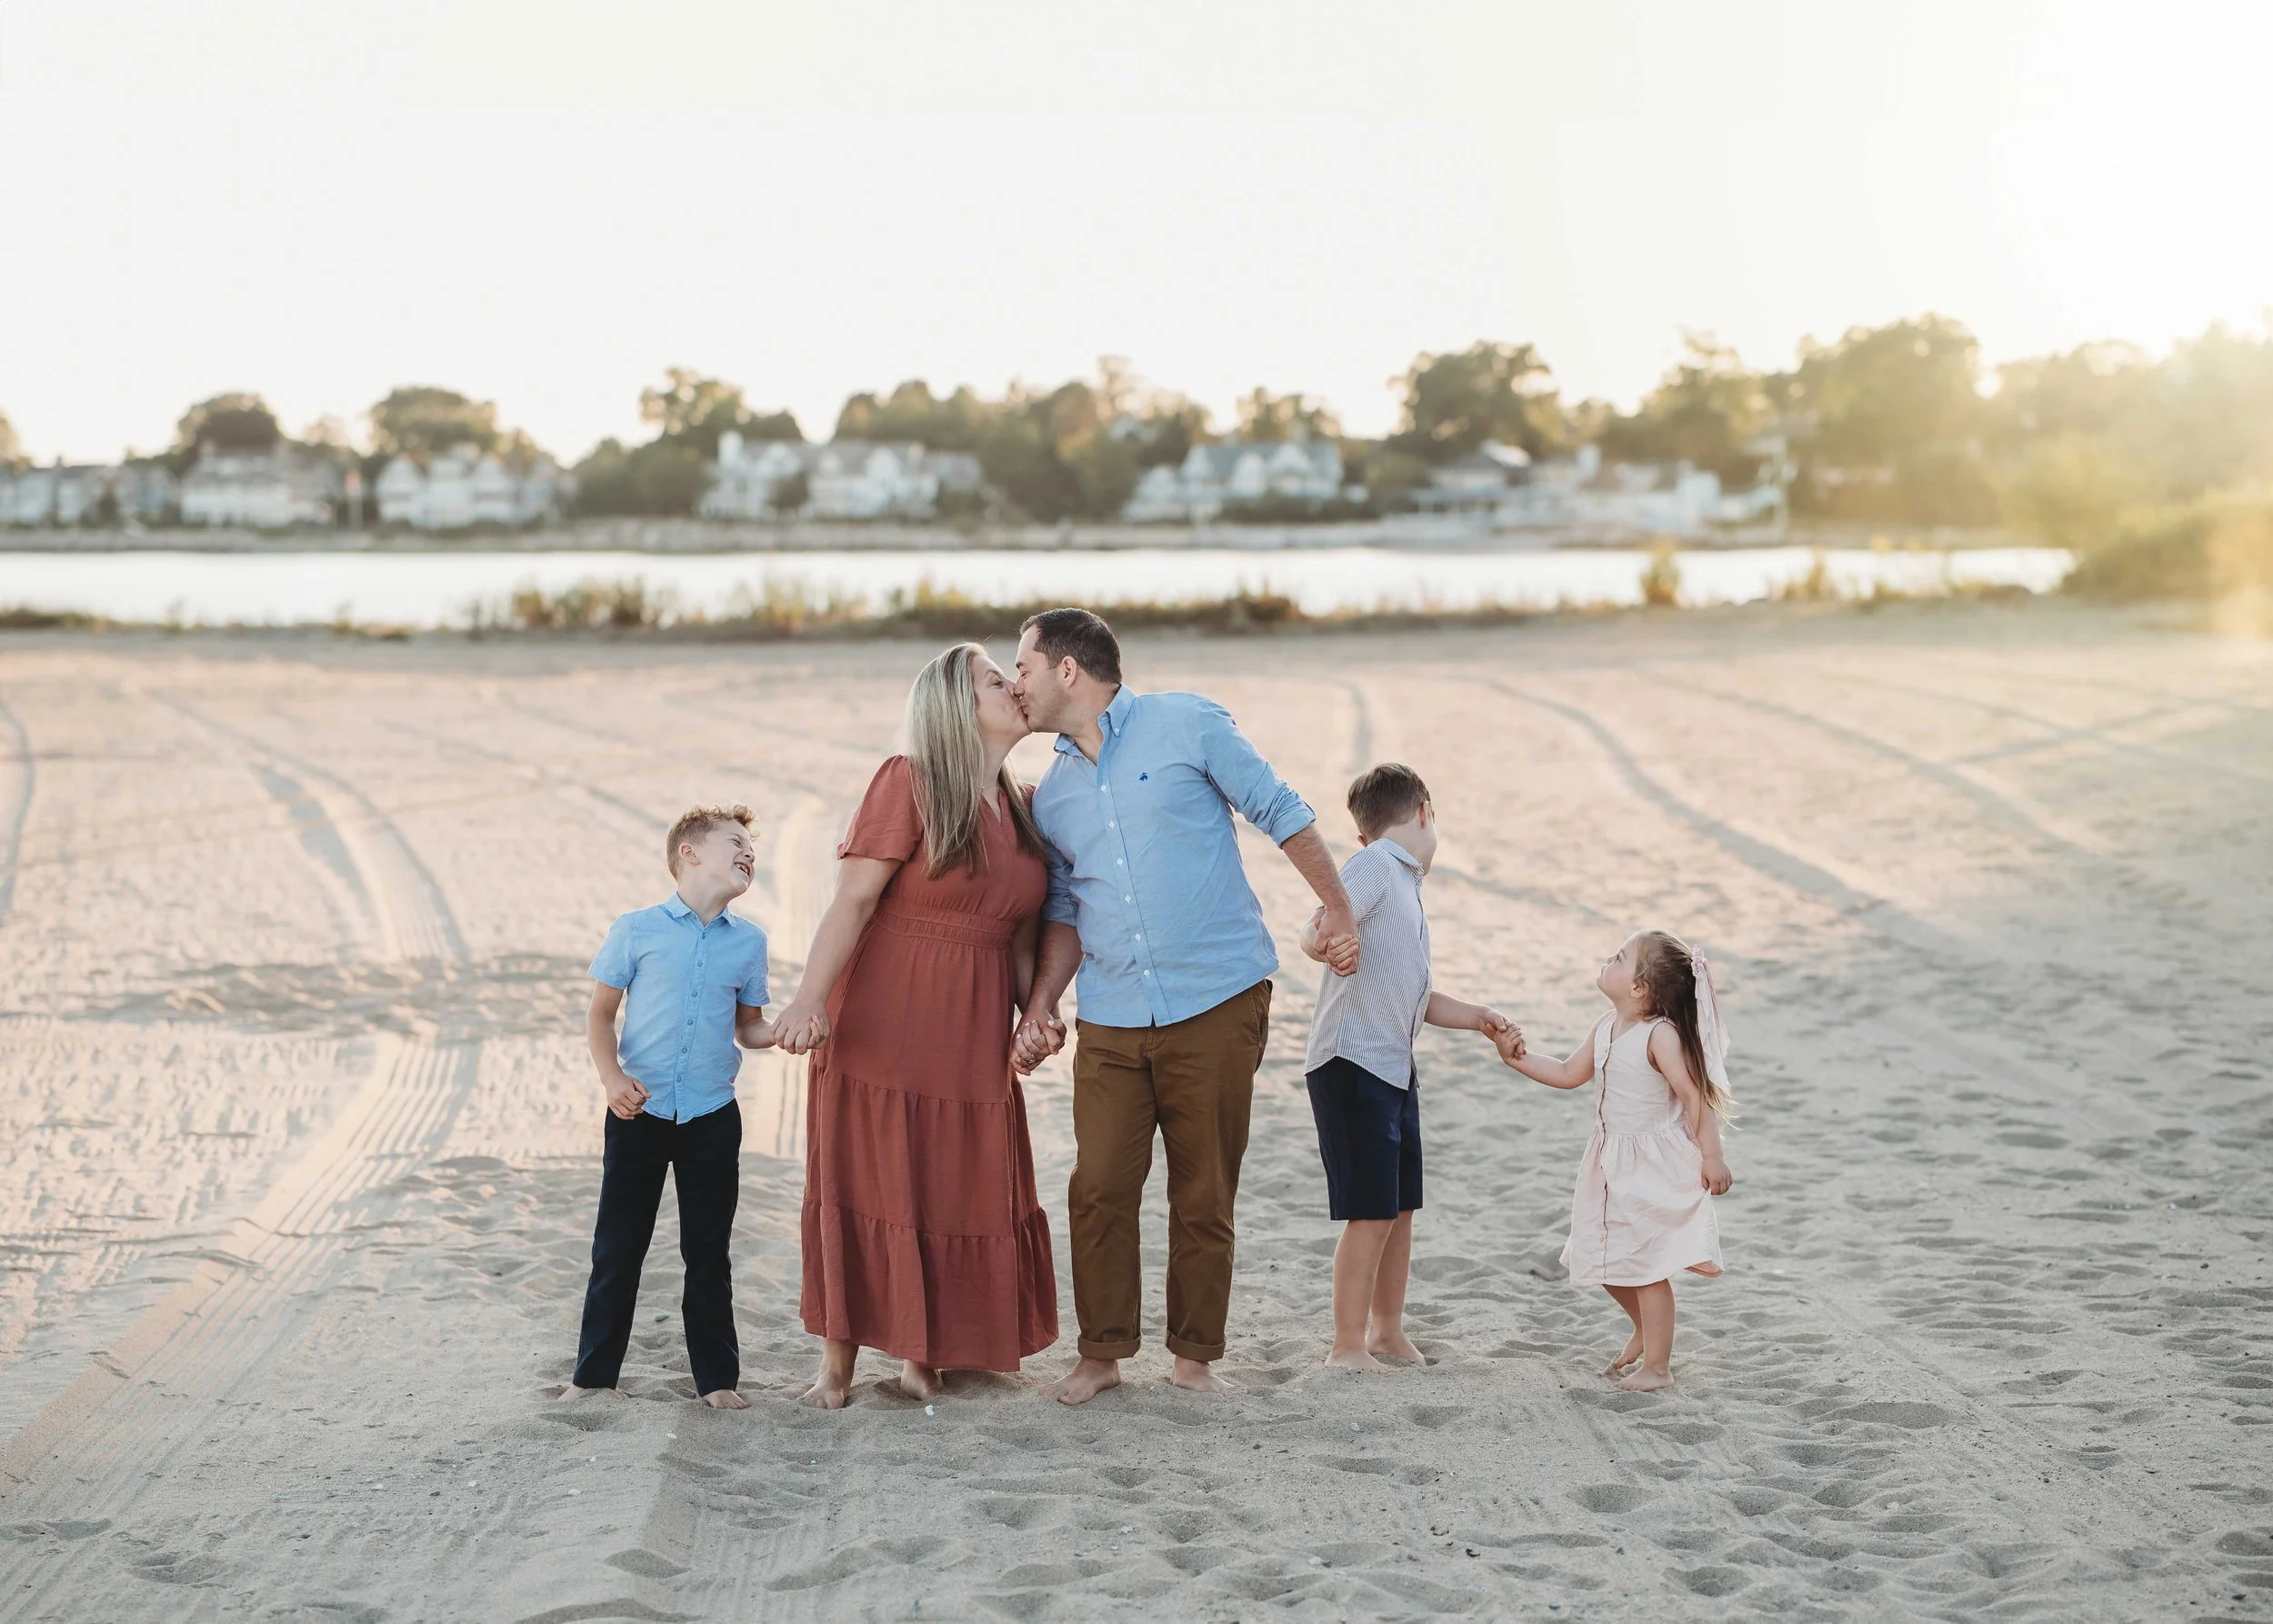
Your session location will be confirmed in the days leading up to your session, either a local park or your own home, depending on what we've planned together. The start time may also shift by an hour in either direction, depending on the location choice.
If we're meeting at a park, aim to arrive 5-10 minutes early, just enough time to find parking, get everyone out of the car, and take a breath before we start. Try not to arrive much earlier than that though. Kids who have been waiting around for 20 minutes before a session starts are not the same kids who just hopped out of the car, and you want them fresh (not bored and restless) before we've even begun.
If we're shooting at your home, I'll arrive a few minutes before your session start time to get aquainted with your property. I’ll try to park in a spot that isn’t your driveway, so that I don’t need to worry about catching my own car in the pictures. No need to do anything special! I’ll just park nearby, walk around the yard, and get my cameras set up while you’re getting everyone ready, and I’ll meet you outside!
Running late? It happens. Just text me at 616-635-3286 and I'll let you know the best way to adjust. I build a little flexibility into every session, so a few minutes never derails the whole thing. Just send me a heads up text, and we’ll figure it out.
Parking details and any specific meeting spot instructions for your location will be included in your session confirmation email.

After the Photoshoot: THE FUN PART
This is the part clients look forward to most, and for good reason!
Within a few weeks of your session, you'll get an email letting you know your gallery is ready. Set aside some real time for this one. Pour a glass of wine, gather the family, maybe pop some popcorn, because you're about to see your session come to life as a full slideshow set to music.
A few important things to know before you open it:
The slideshow will be available for 24 hours from the moment you first view it, so choose your moment wisely. Don't open it on your phone in a parking lot; give it the attention it deserves.
After the slideshow, you’ll be able to choose your package. You'll select your favorite images, and your high-resolution files will be available immediately after purchase.
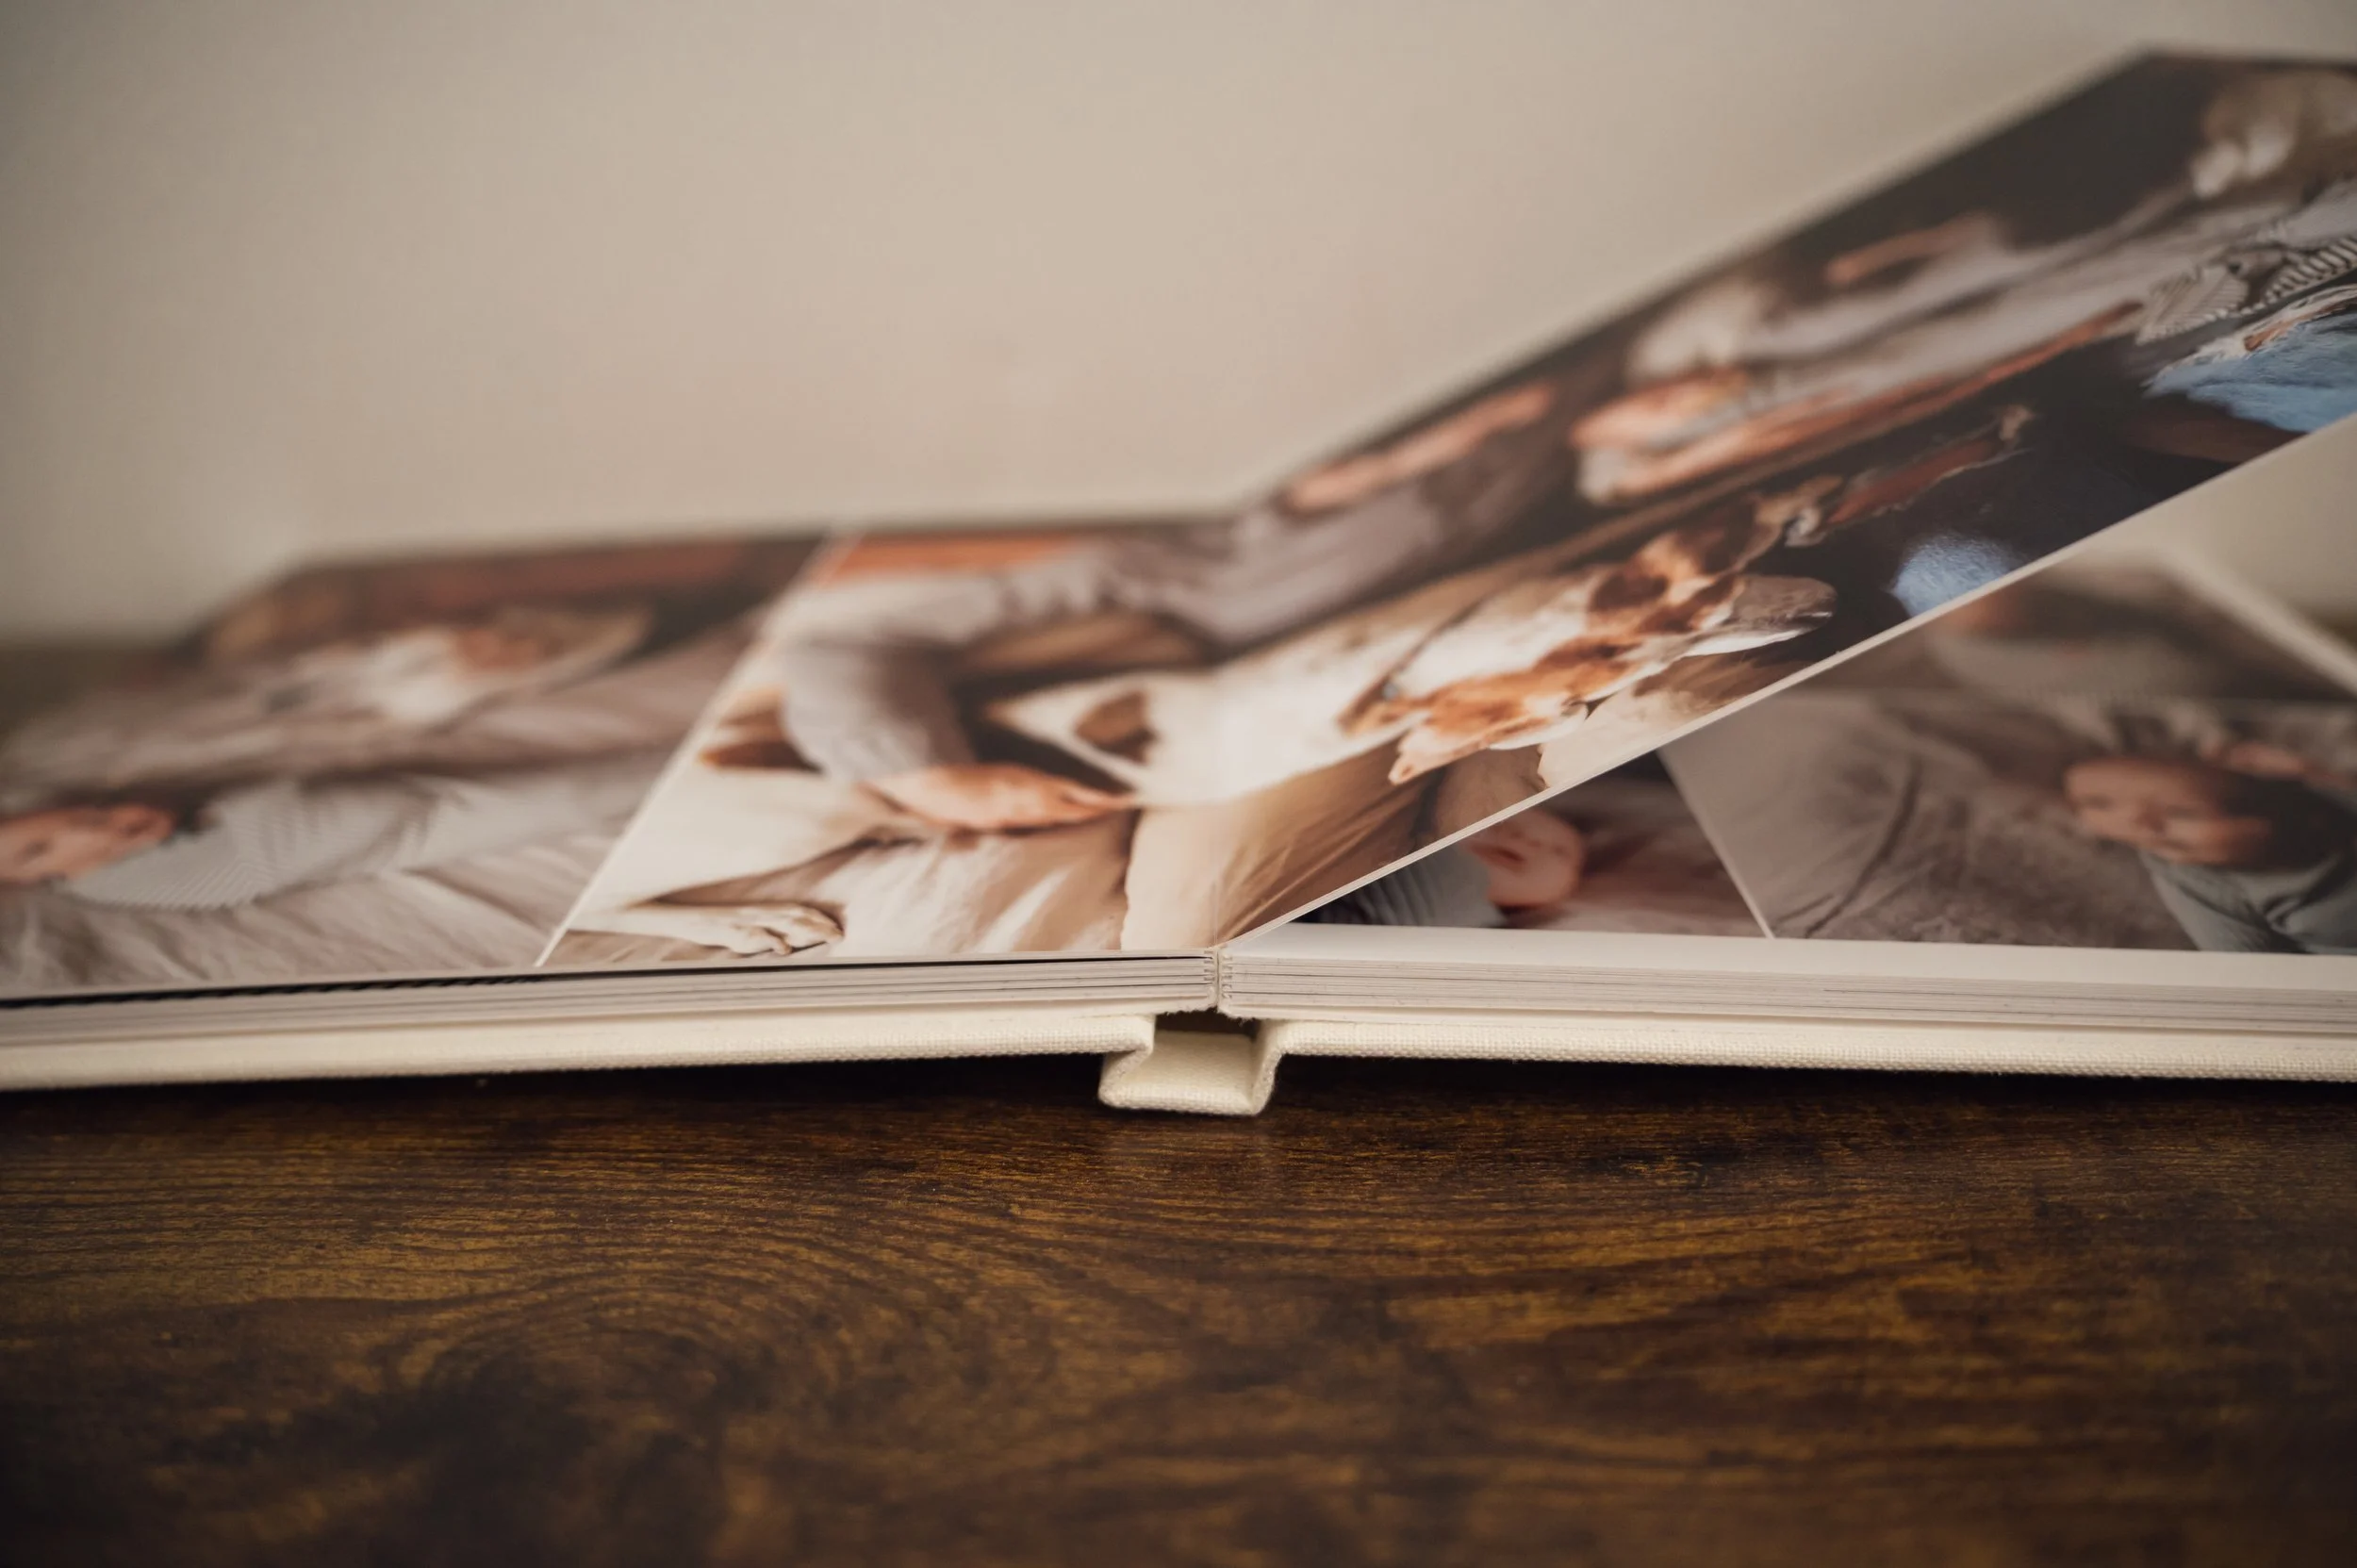
Every package includes a print credit toward archival-quality albums, prints, and wall art, because your favorite images deserve to live somewhere other than a hard drive.
You'll have 30 days from your purchase date to use your print credit, and I'd encourage you not to wait. These are the images that belong on your walls, in an album on your coffee table, and in your kids' hands someday.
For albums, I design yours personally -- you just give the final word before anything goes to print. Not sure where to start with your print credit? Reach out and I'll help you figure out what makes the most sense for your home.