
DIY Newborn Photography: 10 Tips for Taking Your Own Pictures
There are so many reasons why professional newborn photography isn’t always the best option for all parents: Health concerns, finances, work schedules, complicated deliveries, family visits, and so many other reasons.
Like photographers all around the world, I had to shut down by business for a few months in 2020. I’ve since reopened and offer both In-Home Lifestyle Newborn Sessions and Studio Newborn Sessions, serving families in Fairfield County, CT and Westchester County, NY. However, I understand that many families will still choose to DIY their baby’s early pictures. I can provide new parents with a few tricks I’ve picked up along the way in my own work photographing newborns so that they can take awesome pictures of their own.
DIY Newborn Photography: Taking Your Own Baby’s Pictures
Yes, you can take awesome pictures of your little one! Of course, you may not have invested in professional equipment, software, and education.
BUT, armed with a few tips and tricks, a camera of any kind, and GOOD OLD WINDOW LIGHT, you can take some shots that you’ll love for years to come. Yes, you can take awesome DIY newborn pictures — and I can help.
Additionally, you'll be taking a million pictures of your child between visits to a professional photographer, so these tricks will benefit you there, too!
If you are planning to use an iPhone or smartphone of any kind, hop over to 5 Tips for Better iPhone Pictures for a couple of simple things you can do to up your iPhone photography game.
1. Safety, Safety, Safety
Of course, this is your #1 priority. Maybe you’ve seen “froggy style” poses where it looks like a baby’s head is propped up on their hands? That’s actually achieved through the magic of Photoshop, because otherwise that baby’s head wouldn’t be well enough supported. Please don’t try it at home. Other things to avoid: Anything up high, anything that involves a “prop” (basket, bucket, baby bed, etc.) without a spotter, anything that could break or tip over.
2. Simplify
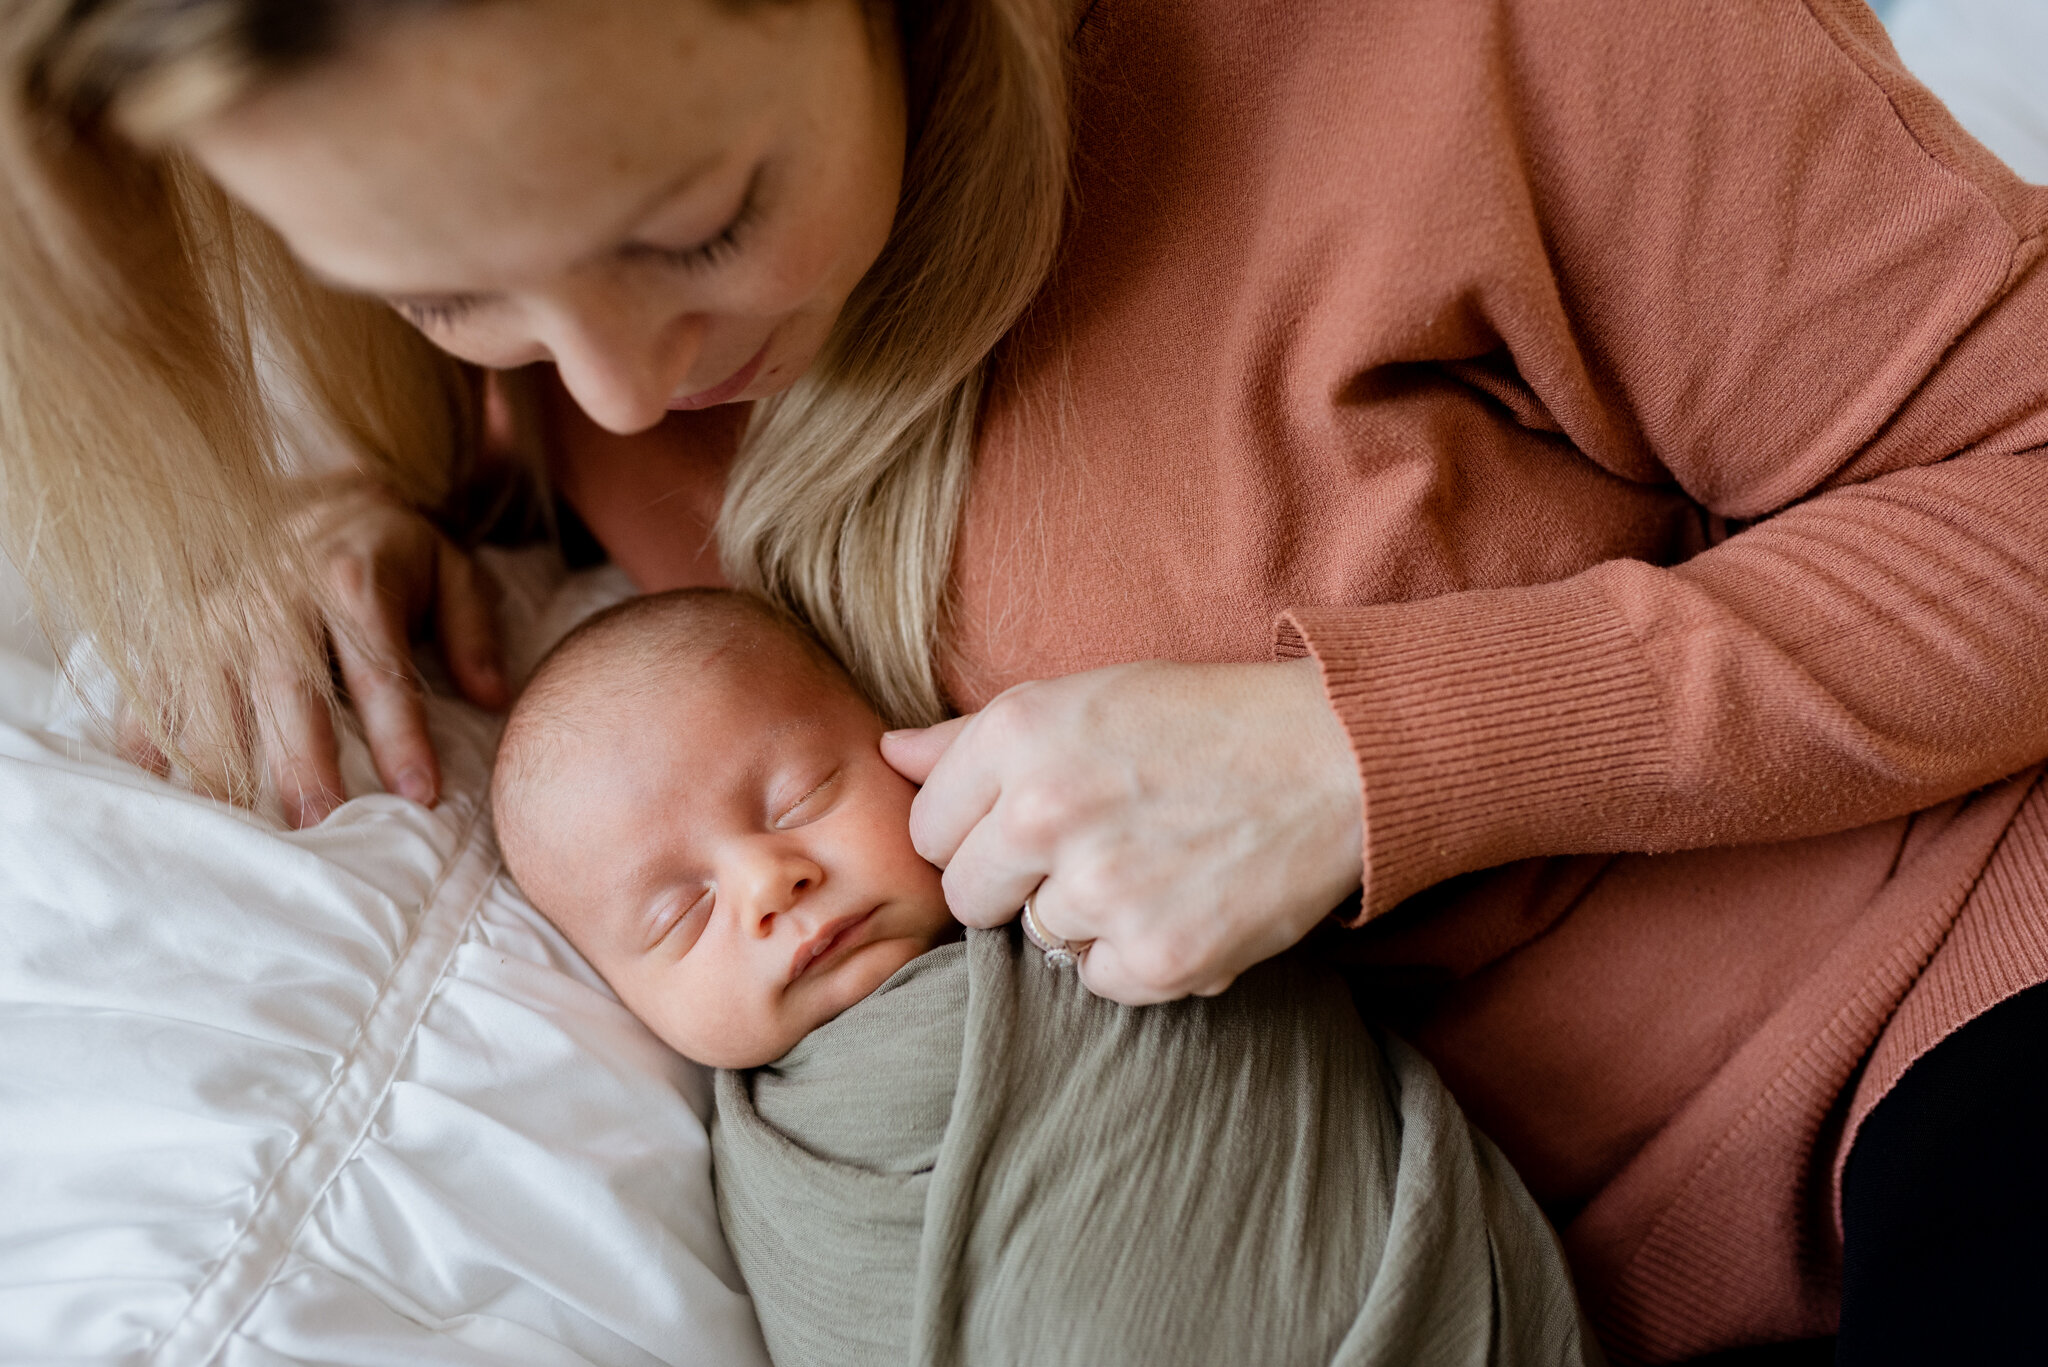
I think you’ll find that the sweetest DIY Newborn pictures are the simplest: Solid-colored wraps, white undershirts that snap under the crotch, neutral blankets, a sweet knit hat.
I can ooooh and ahhhh over baby outfits with the best of them, but for newborn pictures tend to set them aside in favor of classic, tight-fitting tees and wraps. Sometimes cute outfits get distracting in pictures, and baby gets a little overshadowed.
PROFESSIONAL NEWBORN PHOTOGRAPHY
Maybe you’d like an established photographer to handle your newborn’s first pictures? If you’re local to Fairfield County, CT or Westchester County, NY, feel free to reach out! If you live elsewhere, here are some tips for choosing the right photographer for your family.
See sample newborn galleries on the blog:


3. Declutter
Here’s what you don’t want in the background of your pictures: That overflowing bookshelf, the laundry pile, the messy desk in the corner or unsorted mail on the desk.
I know that for me, sometimes I’ll get a GREAT shot of my kids, only to find that yesterday’s homework pile or dirty dishes somehow made it into the shot, and it takes away from the image I was trying to achieve.
So, before you embark on your DIY Newborn photoshoot, do a quick tidy up. The easiest method I’ve found? Grab a laundry basket, throw the room’s clutter inside it, and cart it off to another area of your house. Easy!

4. Sleeping > Awake
Thankfully, newborns sleep a lot, generally speaking. Your best bet for awesome DIY newborn pictures? Sleeping ones, 100%. You may LOVE looking into those sweet little eyes in person, but when you go to take pictures of awake newborns? Here’s what you’ll get 95% of the time:
Cross-eyed shots
Blurry shots (because awake babies = babies who are moving!)
Crazy-eyed shots
Crying shots
Go for SLEEPING; it’s so much easier.
5. Keep Them Asleep
Tacking onto #4, here are some tips for keeping them good and sleepy for their photoshoot:
Feed and burp them right before
Make sure they’re in a clean diaper
Put on a noise machine
Make sure the room is warm
Swaddle them tightly in a simple wrap
Just don’t make the room dark with blackout curtains, because you’ll need that light for your photos.

6. Turn off overhead lights and your camera’s flash...
… and use window light.
Honestly, it’s just much prettier.
Overhead indoor lights give weird color casts and shadows, and generally not advisable for pictures. A camera’s built-in flash will create an unattractive deer-in-the-headlights look. Using window light will necessitate that your photoshoot takes place in the daytime, when window light is available. You’ll want to find a time when your baby is usually sleeping anyway during daylight hours. It’s worth it.
The tricky part of window light is that it changes from day to day (depending on the weather) and room to room (depending on the direction it faces) and hour to hour (as the sun moves across the sky). It will take a little trial and error to figure out the best location, and that’s okay! Just take your camera and a basic object (I like to use my kids’ dolls or stuffed animals) and walk it around the house, taking pictures of it in different places. Then compare your shots to determine what works best.
If you have a slider door, that’s often a good place to start. Find a time with the light isn’t so bright that it’s streaming in, and thus creating really harsh shadows, but when that room isn’t in shadow, either. Then take that teddy bear and take different pictures of him in different spots around the room. Try some close to the window, some farther away, etc. If you don’t find a spot that you like, try another room.

7. The Direction of Your Light Matters
Once you’ve picked a spot with nice light, you’ll need to figure out where to lay your baby down in relation to the window. Pay attention to where the light is coming from, and the direction it hit’s your baby’s face. Here’s where a visual might help. In each diagram you’ll see a window, a baby, and a couple of arrows that demonstrate the light’s direction.

A and B are both decent options because the light flows across the baby’s face either ear to ear or on a diagonal, hitting one corner of the forehead first and flowing down toward the opposite jawline at a 45 degree angle. Try them both, but you’ll probably find that Option B is generally the optimal choice.
Either way, avoid C and D, because they’ll give you wonky shadows on the baby’s face. In other words, don’t position the baby to where the top of her head is nearest the window, or where the bottom of her feet are nearest the window.
8. Stand Directly Above the Baby
Newborn Photographer Rule Number 1: Don’t “shoot up the nose.” And it’s SO EASY to make this mistake.
Here’s another visual to explain what I mean:

It’s pretty natural for all of us to lay a baby down, stand by their feet, and start snapping away, like in the image A above. Unfortunately, this isn’t your best bet. When you take pictures from this angle, you’re “shooting up the nose,” which is to say you’re getting a LOT of nostril action in your pictures! The photo may also make your baby look distorted, with an overly large bottom half and a smaller head. Here’s how you fix it:
Very carefully, stand directly above the baby. Secure your camera with a strap if you can, in case you drop it by accident. That will give you a much better angle for your baby’s pictures!
Check out the next two pictures, which I took within a couple of minutes of each other. In the first, I’m standing near the baby’s feet. In the second, I’m standing right over him.


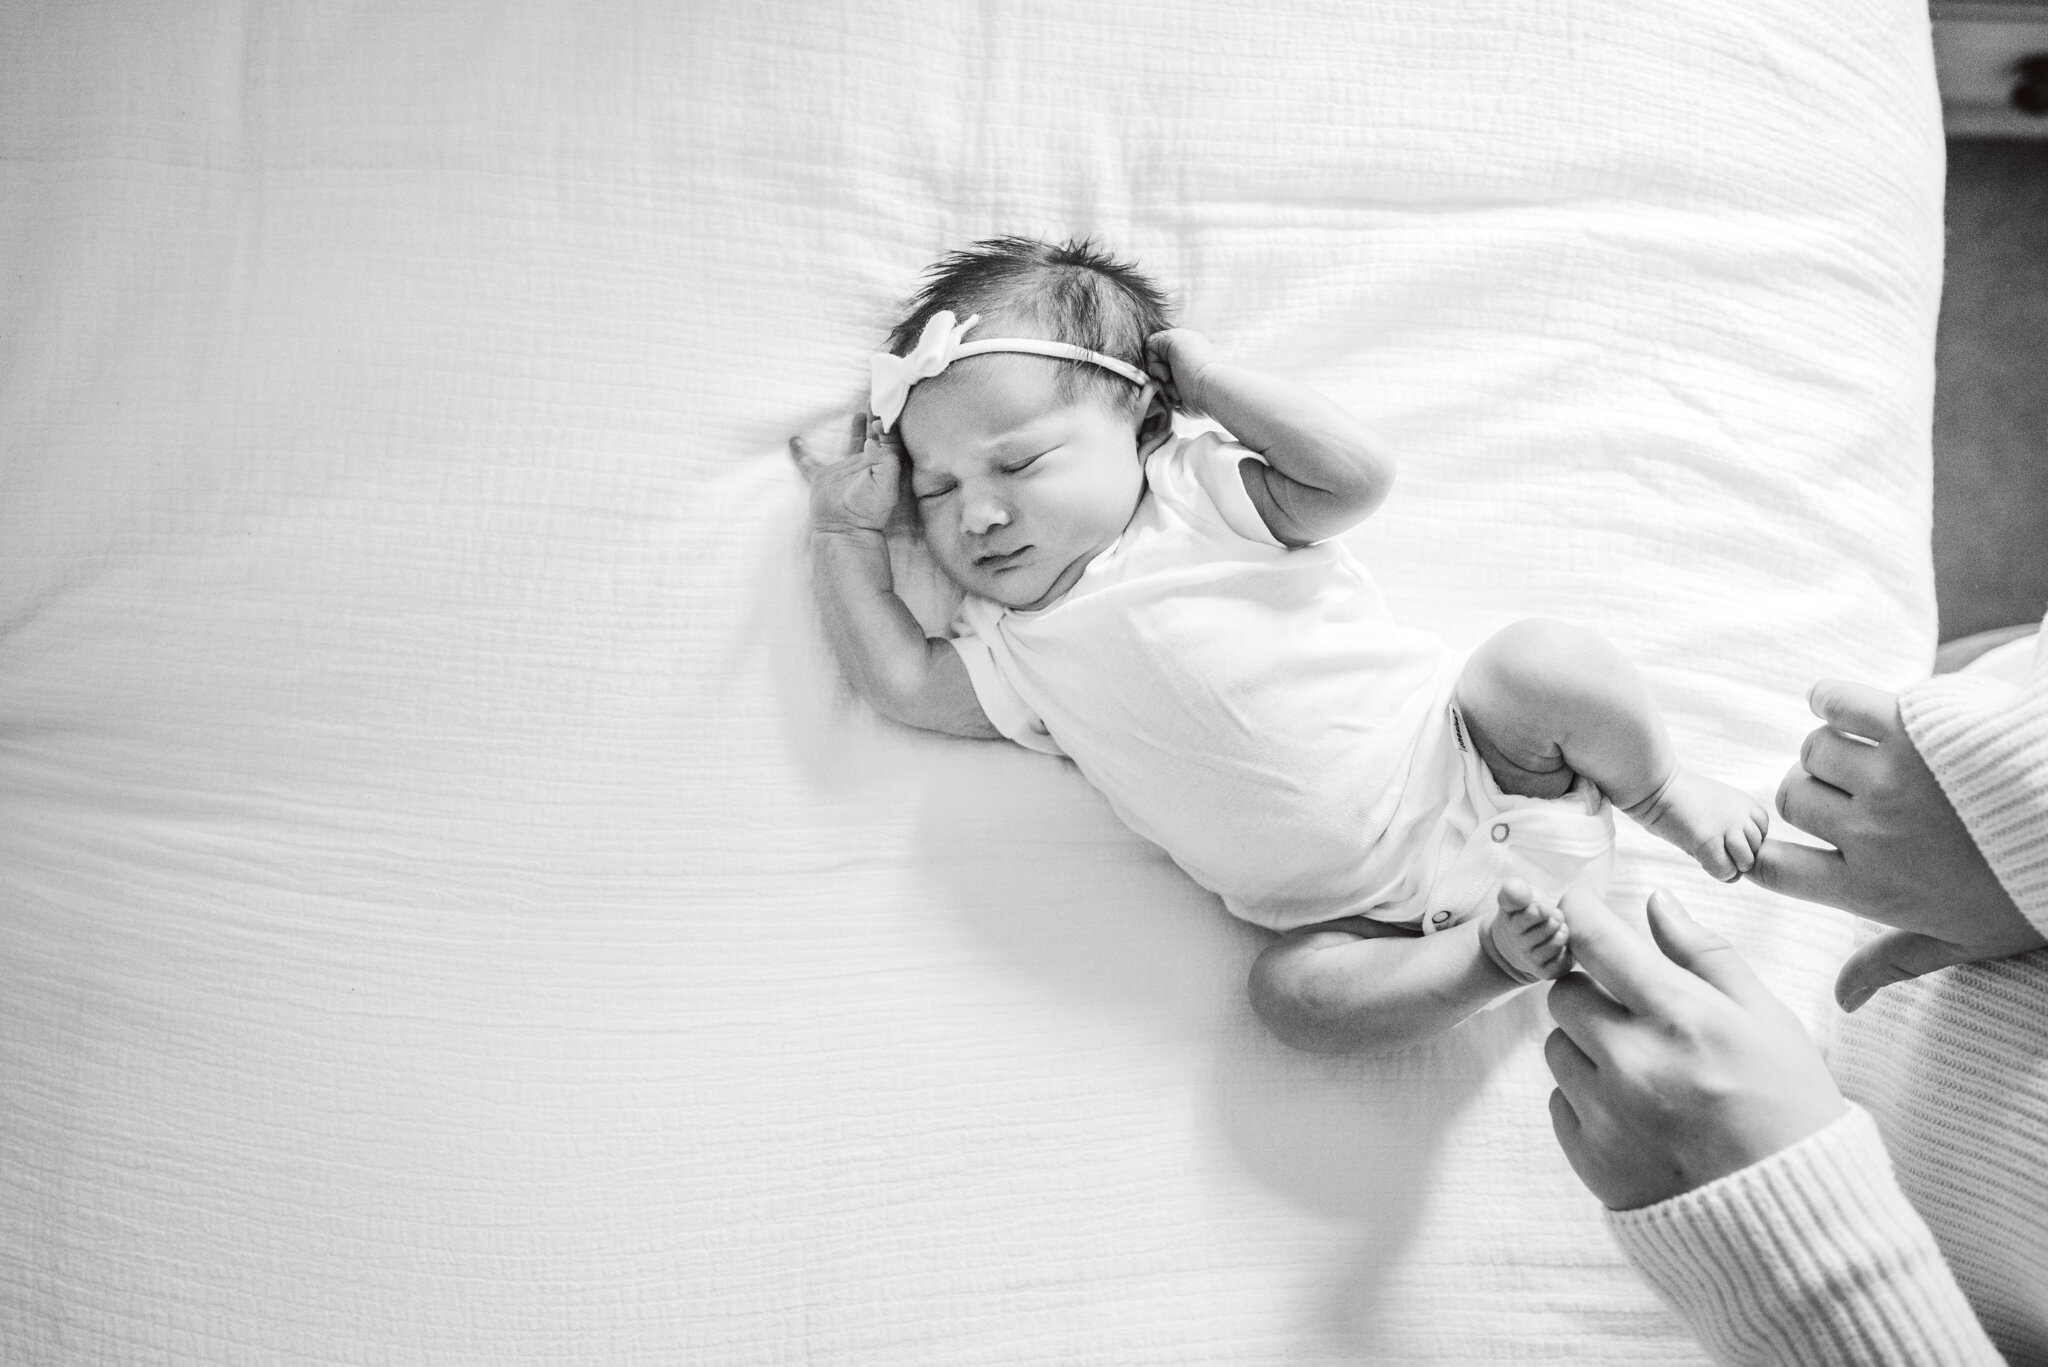
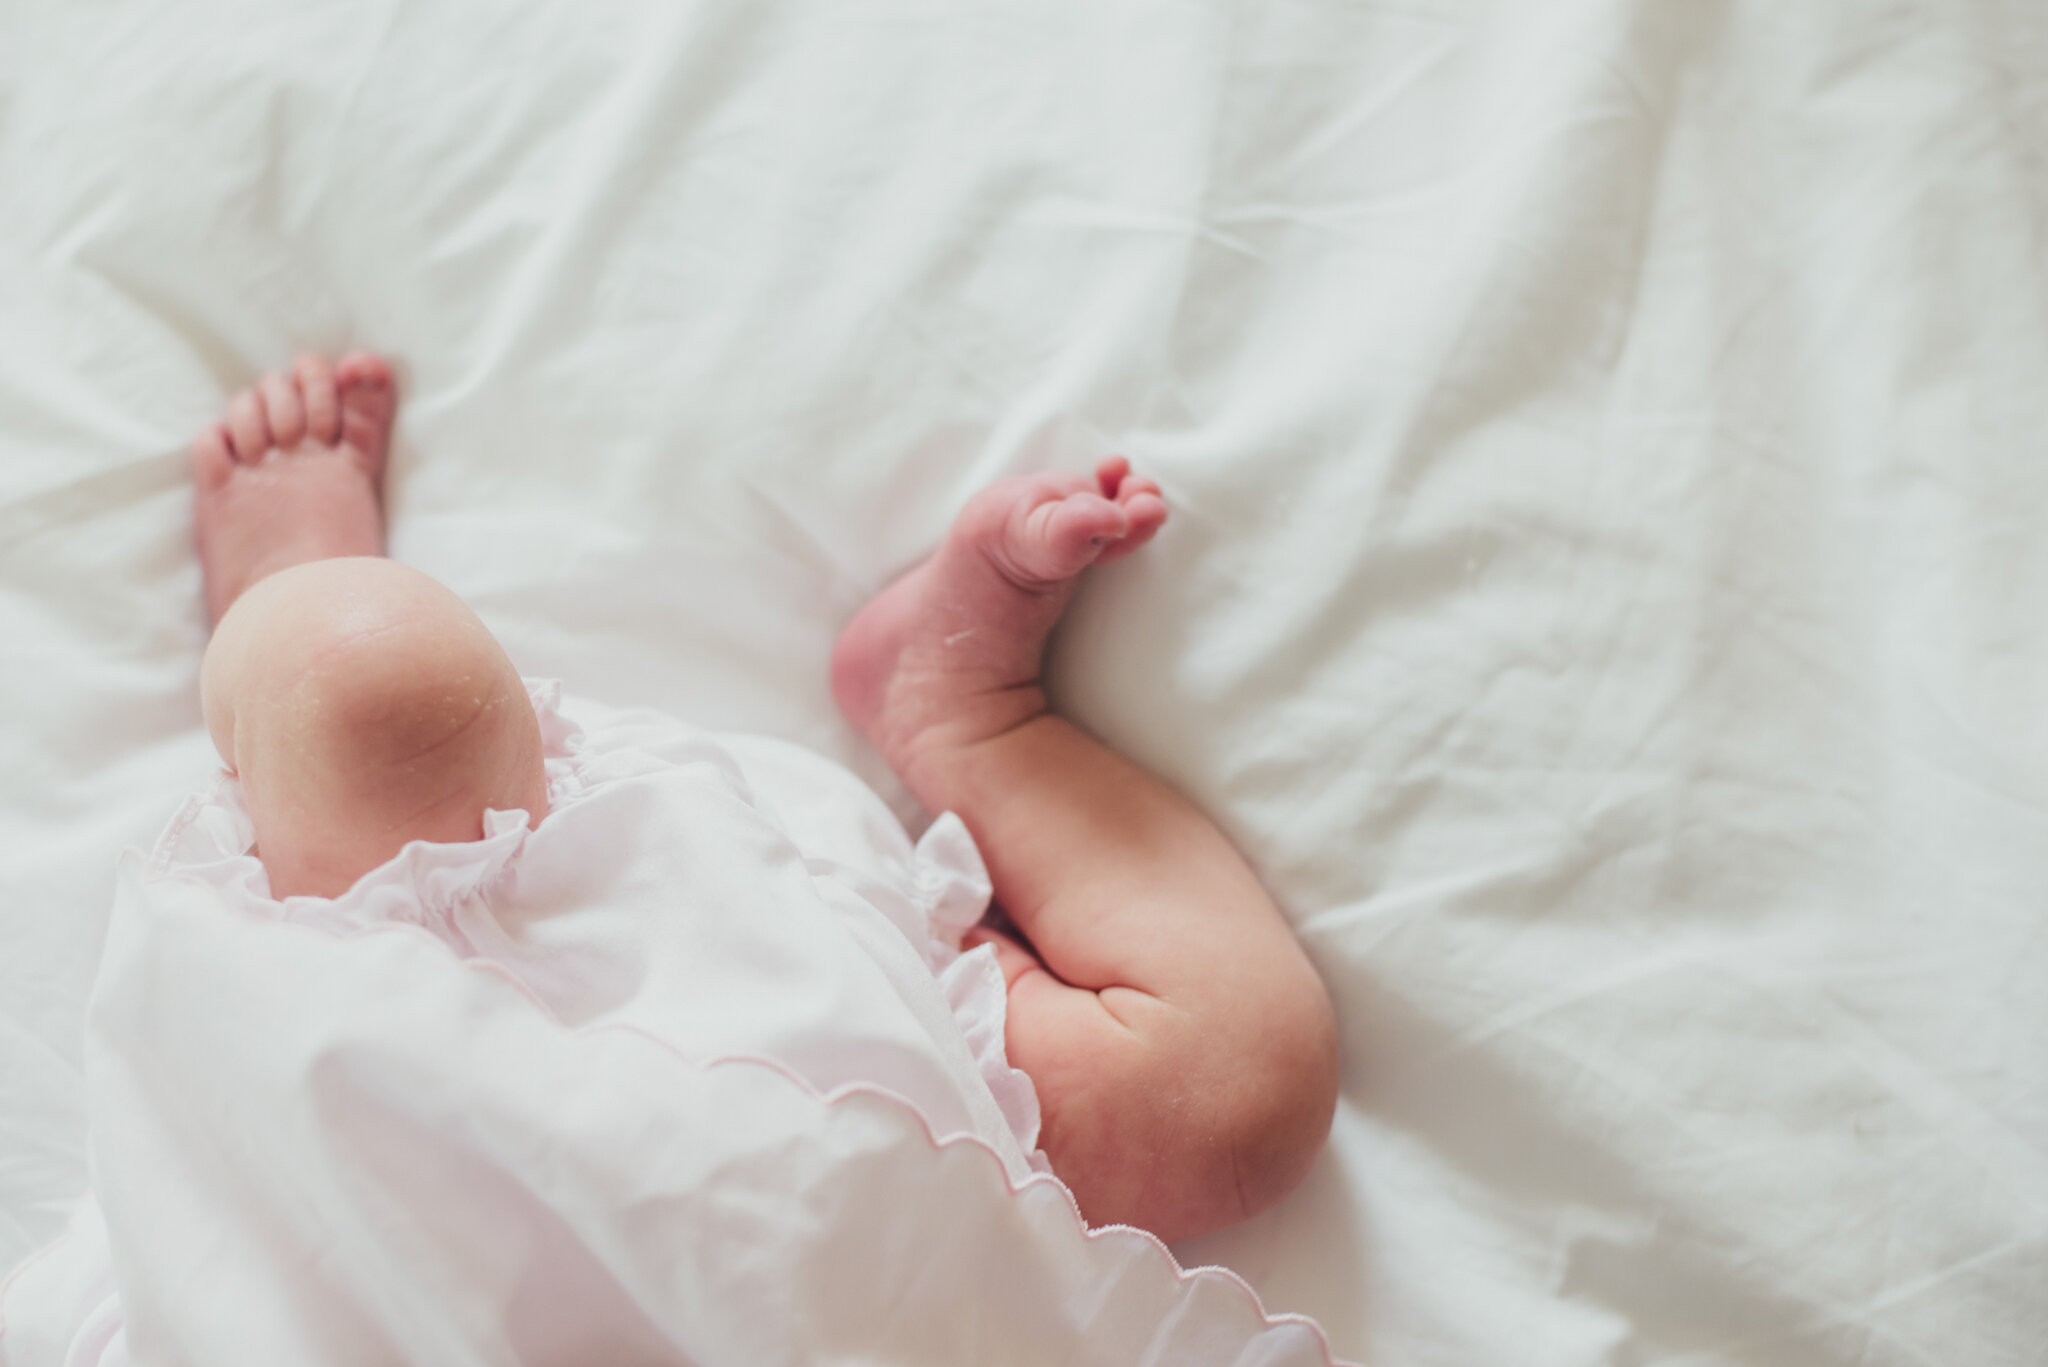
9. Switch it Up
Take some face-only pictures, then back up a touch and get face & chest, then get some full body shots. Go for some wrapped, some unwrapped (if baby will let you!) Turn your camera angle slightly. Shoot some with the baby in the middle of the shot, and others where the baby is positioned over to the side. Don’t forget the details! Get some shots of that delicious little mouth, and others with just a hand. After you’ve gotten a bunch from the top down (See #8) Move around to get different angles and perspectives.
how to book a newborn session
If you’re interested in booking your own newborn session, inquiring about availability, or learning more about my packages, please reach out. I’d love to chat further.


10. Embrace Trial and Error
Take 200 pictures and don’t be frustrated if you only love 10 of them. This is the beauty of digital photography after all! 10 pictures you love is well worth the effort every time. Alternately, if you don’t love ANY of the pictures, just try again another day. When it comes to photography, trial and error is a fabulous teacher.
And when you have favorites to share? Tag me on Instagram at @jwbrownphotography. I would love to see what you come up with!


DIY Newborn Photography: Have Fun
Babies are adorable no matter what, and photographing your children is something you’ll be doing for a very long time. I hope you have a great time experimenting with your camera and lighting, capturing those precious little features, and documenting these precious early days.